Knife Skills 101: A Beginner's Guide to Confidence
Feeling nervous with a big knife? This guide breaks down the essential grips, motions, and basic cuts to build your confidence in the kitchen.
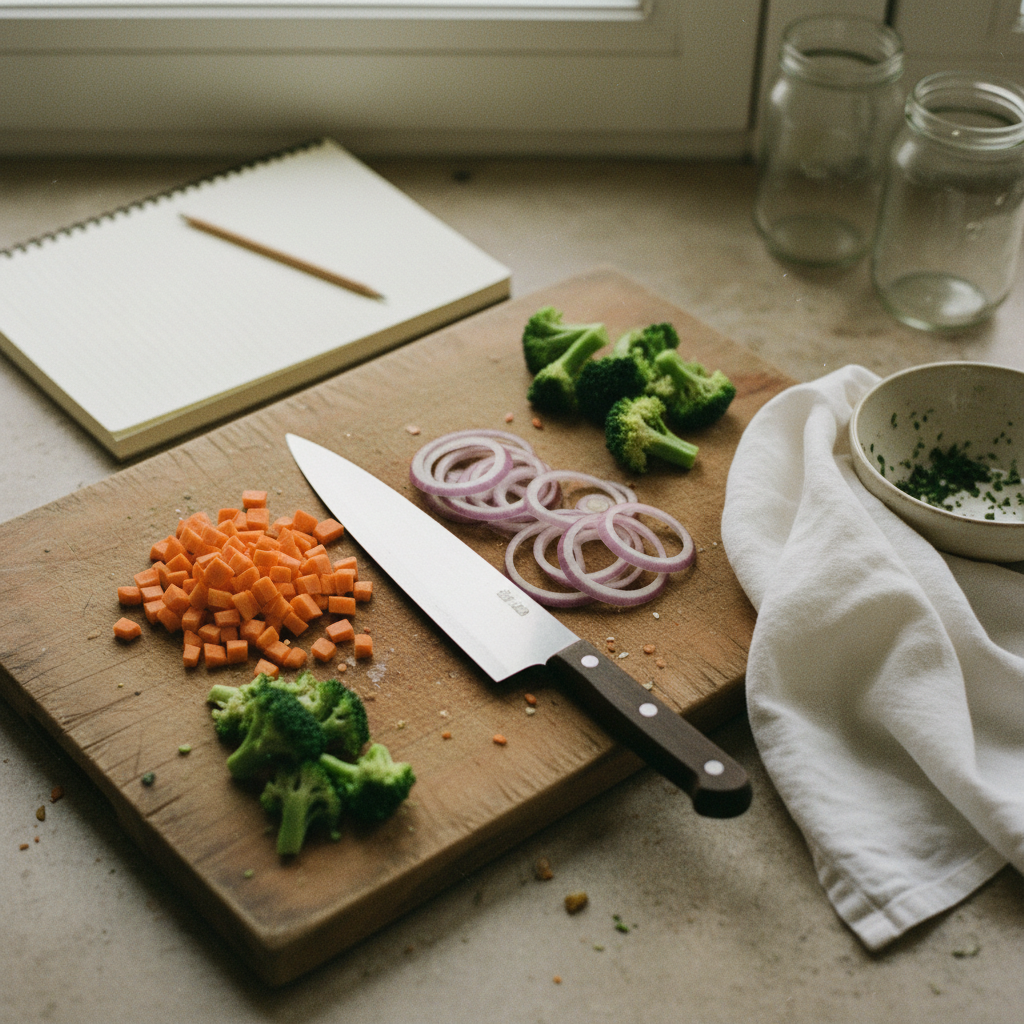
Basic knife skills are the fundamental techniques for safely and efficiently holding a knife and cutting ingredients. This includes learning the proper claw grip to protect your fingers, using a rocking motion for chopping, and mastering foundational cuts like the dice and mince. Good skills mean faster prep, more consistent results, and greater safety in the kitchen.
A sharp chef's knife is the single most important tool in your kitchen, but it can also be the most intimidating. We get it. The good news is that you don't need years of culinary school training to feel comfortable and safe. By focusing on a few key fundamentals, you can transform your cooking prep from a chore into a satisfying, mindful practice.
This guide is designed for the absolute beginner. We'll leave the fancy tournament-style cuts for another day and focus on the practical skills that will get you dicing onions and chopping carrots with confidence and-most importantly-with all your fingers intact.
How Should I Hold a Chef's Knife?
Before you ever make a cut, you need to know how to hold the knife. You might be tempted to wrap all your fingers around the handle, like you're holding a hammer. While this feels intuitive, it offers very little control over the blade. For better stability and precision, most cooks use what's known as the "pinch grip."
**The Handle Grip vs. The Pinch Grip**
* **The Handle Grip:** This is where you grip the handle with your entire fist. Your hand is far from the blade, which reduces your control and makes the knife feel like a clumsy lever. It’s less stable and can lead to more fatigue over long prep sessions. * **The Pinch Grip:** This is the preferred method for control and safety. You hold the handle with your back three fingers, while your thumb and forefinger “pinch” the blade itself, right at the bolster (the thick part where the blade meets the handle).
**Why the Pinch Grip Works:** By choking up on the knife and holding the blade itself, you are essentially making the knife an extension of your hand. Your control point is closer to where the work is being done. This gives you much more nuanced control over the angle and pressure of your cuts, making you more efficient and far less likely to slip.
What Is the "Claw Grip" and Why Is It So Important?
Now that your knife hand is sorted, let's talk about your other hand-the one holding the food. This is where the single most important safety technique in the kitchen comes into play: the claw grip.
The claw grip does exactly what it sounds like: you curl the fingertips of your non-knife hand inward, as if you're making a claw. You hold the food with these curled fingers, keeping your precious fingertips tucked away and out of the blade's path. Your knuckles should stick out slightly, acting as a flat, sturdy guide for the side of the knife blade to rest against.
As you slice, the knife's side glides along your knuckles. You can then slowly inch your clawed hand backward to create slices of your desired thickness. Your knuckles guide the cut, and your fingertips are never exposed. It might feel awkward at first, but practicing this one technique will drastically reduce your risk of injury.
Understanding the Basic Cutting Motions
There isn't just one way to move a knife. Different motions work better for different ingredients and cuts. The most common and useful for a beginner is the rocking chop.
To perform a **rocking chop**, place the tip of your chef's knife on the cutting board and keep it there. Now, raise and lower the heel (the back) of the knife in a rocking motion, pushing the food under the blade with your clawed guide hand. This is perfect for mincing garlic, chopping fresh herbs, or breaking down a pile of leafy greens. It’s a very stable and controlled motion because one part of the knife is always anchored to the board.
For harder vegetables like carrots or potatoes, a **push cut** is more effective. You start with the tip of the knife angled slightly up and then push the knife forward and down, slicing through the ingredient in one smooth motion. This uses the full length of the blade to cut efficiently.
Foundational Cuts Every Beginner Should Know
Once you have the grips and motions down, you can start making cuts. Don't worry about perfect uniformity right away; focus on the process. Consistency will come with practice.
1. **The Rough Chop:** This is an imprecise cut where consistency doesn't matter much. It's used for foods that will be blended into a soup or cooked down into a rustic sauce. Just focus on breaking the ingredient down into bite-sized pieces. 2. **The Dice:** A dice means cutting food into uniform cubes. To do this, you first need to make the food square. For an onion or a potato, first slice a small piece off one side to create a flat, stable base. Then, cut the item into uniform planks. Stack the planks and cut them lengthwise into sticks (batons). Finally, gather the sticks and cut them crosswise to create cubes. 3. **The Mince:** Mincing is for when you want the ingredient to almost melt into the dish, like with garlic, ginger, or shallots. First, thinly slice the item. Then, use the rocking chop motion, repeatedly going over the pile of slices until the pieces are as fine and tiny as you can get them. 4. **The Julienne:** This means cutting vegetables into long, thin matchsticks. Like dicing, it starts by creating a flat base and cutting planks. From there, you slice the planks into very thin sticks. It's great for carrots in a salad or potatoes for ultra-crispy fries.
Tips for Building Confidence
- **Use a Stable Cutting Board:** A wobbly board is a dangerous board. Place a damp paper towel or a non-slip mat under your cutting board to keep it firmly in place. - **A Sharp Knife is a Safe Knife:** It sounds counterintuitive, but it's true. A dull knife requires more pressure to cut, making it more likely to slip. A sharp knife glides through food with ease. - **Go Slow:** Speed is the enemy of a beginner. Focus on making deliberate, controlled cuts. Speed will develop naturally as you build muscle memory. - **Start with Something Easy:** Onions and celery are cheap and great for practicing your dicing and claw grip. Don't start with a slippery, tough-skinned butternut squash.
Inspired by reporting from Kitchen Tutor.
Frequently asked
- Is a sharper knife really safer?
- Yes, absolutely. A sharp knife cuts cleanly with minimal pressure, so it's less likely to slip off the food and cut you. A dull knife requires more force, making it unpredictable and more likely to slide off a tough vegetable skin and cause an injury.
- Do I need a lot of different knives to start?
- Not at all. While there are many specialty knives, a single 8-inch chef's knife is incredibly versatile and can handle over 90% of your cutting tasks. Focus on mastering this one tool before expanding your collection. It's the most important one to own.
- How do I stop my cutting board from slipping?
- The easiest trick is to place a damp paper towel or a thin, damp kitchen towel underneath your cutting board. This creates friction against the countertop and provides a stable, non-slip surface, making your chopping much safer and more efficient.
- What's the best way to practice my knife skills?
- Onions are fantastic for practice. They are inexpensive and their layers naturally guide you as you learn to dice and mince. Celery and carrots are also great for practicing uniform cuts and mastering different chopping motions. Just remember to start slow!
- How should I clean my chef's knife?
- Always wash your knife by hand with warm, soapy water immediately after use. Never put it in the dishwasher, as the high heat and harsh detergents can damage the blade, dull the edge, and ruin the handle. Dry it thoroughly right away to prevent rust.